
Surf And Rescue Clean Pets: How to Wash a Rescued Pet
Clean a dirty rescued pet in Surf And Rescue: the home CLEANING station wash, aiming and % Clean progress, the completion state, and the Add to Tank handoff. Rescue steps and hose upgrades are not covered here.
Quick answer
Wash a rescued pet at your home CLEANING station, between returning with the animal and placing it in your tank. Surf home with the dirty pet, finish the wash at the station, then use Add to Tank — the game's own listing names “Clean Dirty Pets” as a core pillar of that rescue loop.
- The wash happens at the home CLEANING station: after the return trip, before tank placement.
- A “Take it home to clean it” message means the pet you are carrying belongs at the home washing station.
- Uncovering a pet still requires your shovel — washing is the separate home stage that comes after the rescue.
- The home keeps cleaning, training, and tank interfaces separate, so each step has its own place.
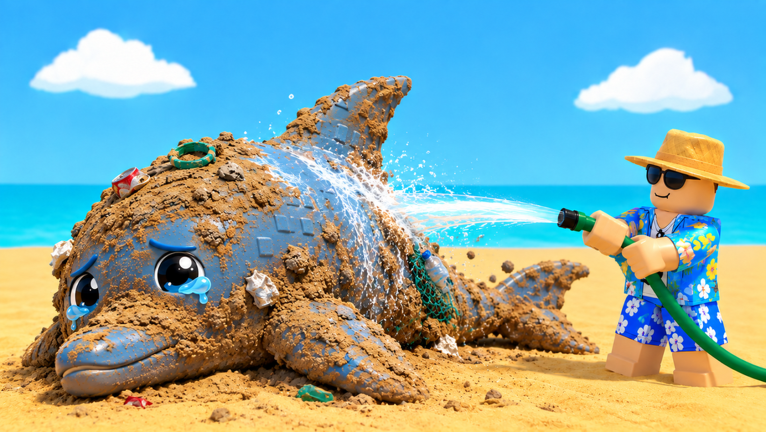
How to wash a rescued pet
Redeem steps
- Return home with the dirty pet
The wash happens after the return and before tank placement.
- Start the wash at the home cleaning station
Use the station's current equipment — the station's tool carries the Common Hose label.
- Aim with the visible aiming indicator
Bubbles appear during active cleaning.
- Let the pet rotate if it turns away
Observed gameplay: a player waited out a rotation (“Let’s let him rotate... There we go”) and cleared barnacle-like dirt before the pet registered as clean.
- Watch the % Clean display while you wash
It tracks progress during active cleaning. A tutorial video also shows a numeric readout during a wash (“We have got to 0.3 on the right right there”); what that number means is not documented, so treat % Clean as your progress display.
- Expect a different flow only for very large pets
Footage shows a giant pet sprayed “from like a mile” and cleaned “in the water.” Standard washes are documented at the home station; in-water cleaning of giants is observed gameplay, not a documented rule, so go by what your current wash offers if the station flow doesn't fit.
Station labels: wash controls vs. offers
The cleaning scene mixes your active task with nearby purchase offers. Know which label belongs to what before you select anything:
Comparison
| Label | Where it belongs | What to inspect |
|---|---|---|
| Common Hose | Your cleaning setup | The equipment currently identified at the station |
| Upgrade Hose? | Equipment offer | The item, benefit, cost, and currency shown now |
| Auto-Cleaner | Automation offer | Its requirements and whether you already have access |
| Auto-clean | Washing interface | What selecting the option asks you to do |
| % Clean | Active task | Progress toward completing the current wash |
A few things to keep straight while you wash:
- Auto-clean is not Auto-Cleaner. Auto-clean appears inside the washing interface during the wash; Auto-Cleaner is an automation offer displayed around the station. If you open Auto-clean, read its current option or purchase panel — that panel carries the cost and access requirements.
- Keep the “auto” wording on the wash. It belongs to cleaning a rescued pet, not to other systems.
- Identify tools by label, not color. The cleaning scene can show a yellow sponge-style interaction or a blue handheld sprayer; go by the name and details on your current station or item panel. Don't search for a made-up “blue hose” upgrade just because a different player uses a blue tool.
- Stay on the wash. Complete it with your current setup and follow the cleaning progress instead of opening every nearby purchase panel while the pet is waiting.
- Hose feel is a gameplay impression, not a spec. Players describe the starting hose as underpowered for washing (“I should probably increase the hose because this is just like bad. We do not do enough damage”), but upgrade decisions are an equipment topic outside this task.
How to tell the wash is complete
The cleaning display decides, not the pet's appearance. Keep checking the cleaning progress and wait for the completion state on the cleaning display — even if the tool looks different or its animation makes the pet look clean. The specific percentage or threshold that triggers that completion state is not documented, so don't wash toward a target number; wash until the display shows the job is done.
After cleaning: Add to Tank
Once the wash is done, the clean pet's next step is tank placement. Take the clean animal to your aquarium and look for Add to Tank — Edit Tank and Upgrade Tank are separate controls, so don't confuse them with placing the pet. The home loop is the same for every pet you bring back: finish cleaning, then tank placement.
Placement can hit a limit: recorded gameplay shows a player placing a freshly cleaned pet into the tank (“Welcome to your new home, squire”) and immediately getting a tank-full prompt offering an upgrade, so tank space can gate this step. What comes after the handoff — upgrades, income, training — is outside the cleaning task.